ATV Inspection Checklist
Are you ready to hit the trails with your all-terrain vehicle (ATV)? Hold on!
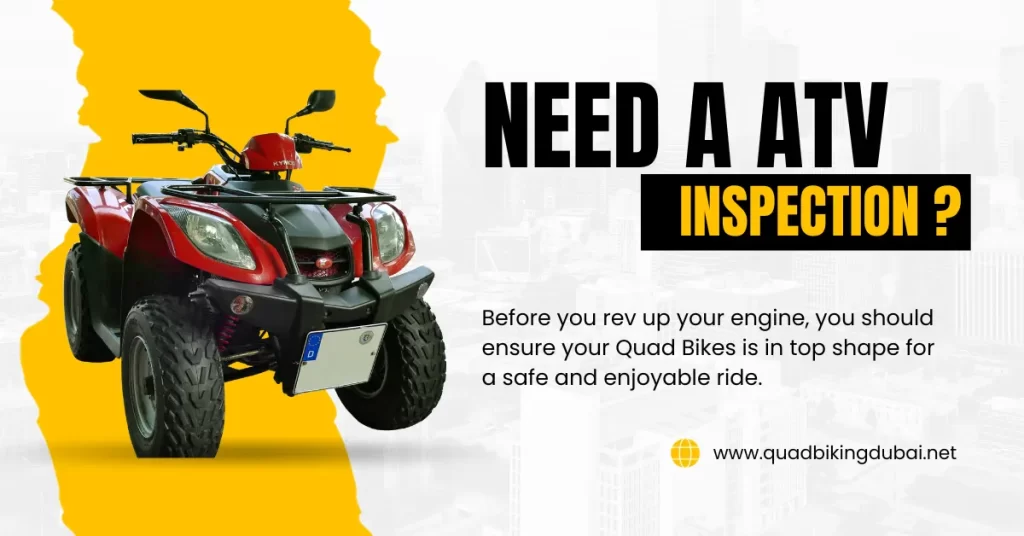
Before you rev up your engine, you should ensure your Quad Bikes is in top shape for a safe and enjoyable ride.
In this article I’ll walk you through the pre-ride check. Whether you’re a seasoned rider or a newbie. These are all steps we take to make sure you enjoy your quad biking tour in the Dubai desert.
Let’s dive in!
1. Tires and Wheels
Firstly you should check tire pressure and adjust to about 6-8 psi or the manufacturer’s recommended level.
Then inspect tires for cuts, punctures, or abnormal wear; before moving to the track. It can prevent you from problems during the rides.
You should also ensure all lug nuts are tightened and wheels are secure. You should add it to your regular routine, because it can prevent you from accidents.
2. Brakes
The second thing you should consider is to check front and rear brakes for proper operation.
This test should involve checking for any sponginess or slack in the brake levers, which is an indication of air in the brake lines or worn pads.
Then you should examine the brake pads; if they are thinning close to the wear limit you should replace them.
Also, inspect the brake lines for any signs of leaks, cracks, or damage, as these can lead to brake failure.
Most important don’t forget to check the brake fluid level in the reservoirs, ensuring it’s within the recommended range.
3. Fluid Levels
You should start checking the engine oil; esure it’s at the recommended level and if it’s dirty or has been used for an extended period you should change it.
Next, examine the coolant level, which is especially important in preventing engine overheating.
Lastly, you should inspect the transmission fluid, which is crucial for the smooth shifting of gears and transmission health.
4. Suspension and Steering
You should always inspect shocks and struts for any signs of leaks or damage; they should be in good shape to absorb bumps effectively.
Then, you can move on to the steering. Turn the handlebars from side to side to ensure the movement is smooth and effortless.
Also, take a moment and check all the suspension components, like springs and linkages, to ensure they are tight and not worn out.
5. Lights and Electrical
First, you should turn on your headlights and taillights to ensure they’re shining bright; especially if you’re riding in low light.
It is also crucial to test your brake lights; they should light up instantly when you press the brakes.
Your ATV should also have working turn signals, so give them a click to ensure they’re flashing correctly.
Next up, honk that horn! It should be loud and clear to alert others. Lastly, peek at the battery.
6. Engine and Exhaust
Firstly you should start listening to the engine for any unusual noises, like rattling or hissing, it could signal a problem that needs attention.
Inspect the exhaust system carefully for any signs of leaks or damage, as even small cracks which can grow into bigger issues.
You should also keep an eye out for any oil or fluid leaks around the engine area.
7. Chain or Drive Shaft
A well lubricated chain keeps your bike running smoothly and quietly. So, ensure lubricating the chain every 100 miles or after rides in wet or muddy conditions.
You should check the chain’s tension; it should have about 1 to 1.5 inches of play for optimal performance.
If it’s too tight or too loose, you should adjust it according to your ATV’s manual.
However if you’ve one with a drive shaft, look for signs of wear or damage and ensure it’s properly aligned.
8. Controls
When inspecting the controls first, check the throttle; it should smoothly spring back into place when released.
Next, you should inspect the clutch; it should engage and disengage effortlessly, typically requiring no more than 10 to 15 pounds of force.
Lastly, ensure the handlebars are perfectly aligned for accurate steering and are securely fastened.
9. Body and Frame
In the bike’s body you should examine the frame closely for any signs of cracks or damage, especially after a rough ride or a tumble.
Even small cracks, which might seem insignificant, can grow into big problems if ignored.
Next, you should ensure all the bolts and fasteners are in place and tightly secured.
A loose bolt can lead to parts falling off or worse, a breakdown in the middle of your adventure.
Lastly, you shouldn’t forget the skid plates and guards. These protect your ATV’s underbelly from rocks and debris.
10. Fuel System
At the end of this checklist you should check the fuel tank and lines for any signs of leaks; even a small drip can be a big problem.
Ensure your fuel cap is tight, and also venting properly; a blocked vent can cause all sorts of issues.
Also don’t forget the air filter; because a clogged filter can choke your engine, reducing its efficiency.
Ideally, you should clean your air filter after every 10 hours of riding, or replace it if it’s beyond cleaning.